Taking the Next Step in Your Measurement Process
Adapting to New Inspection Processes
Remember the days when calipers, bore gauges, micrometers, height gages and protractors comprised the standard suite of inspection tools? Although many companies continue to use these instruments, they are no longer the only tools used as part of the inspection process. In today’s world, quality control labs typically have a stationary CMM or portable CMM. Companies have evolved and adapted over time to include this highly accurate technology in their everyday inspection process.
The adoption of the stationary CMM was a real leap forward in the quality control process as it enabled high-tolerance parts to be inspected with the precision that few manual processes could achieve. Programmable CMMs took that a step further, allowing complex parts to be measured automatically while the QC engineer or technician attended to other duties.
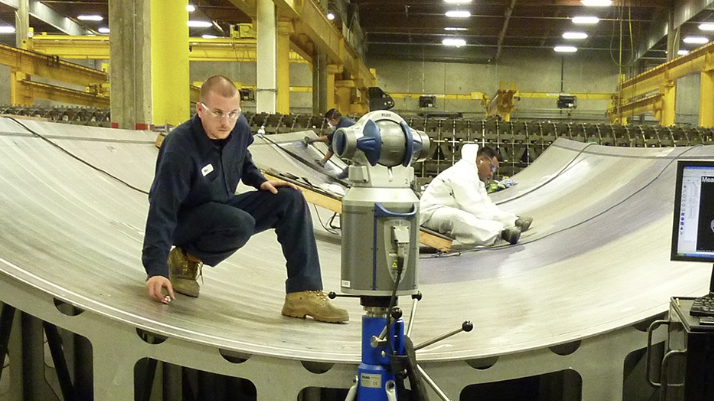
Then came the arrival of the portable CMM allowing parts to be measured in process and side-stepping some of the size limitations of conventional CMMs. Suddenly individuals could measure 3D coordinate data quickly in large volumes that was repeatable and accurate right on the factory floor.
Taking the Next Step in Portable Inspection
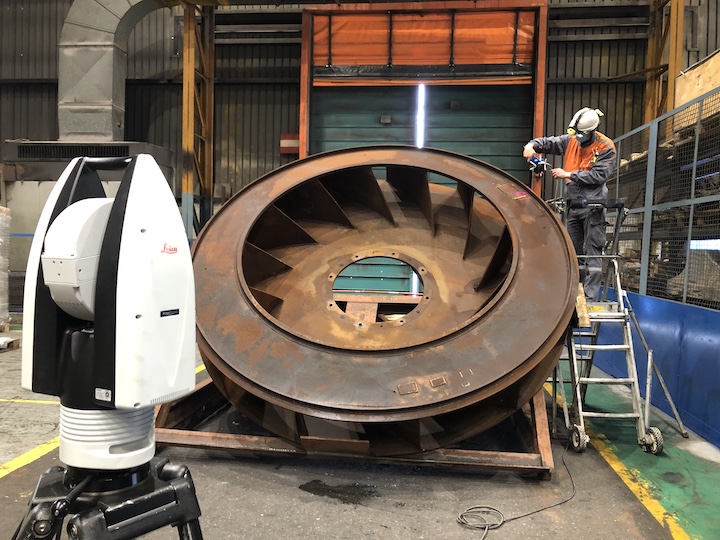
If stationary or portable CMMs have traditionally been used in your shop, you may be seeking more efficient ways to streamline your part inspection process. Has your company considered taking your portable inspection process to the next level? Just as everyday technology has evolved, so have inspection techniques. CMMs still remain the industry standard for achieving tight tolerance inspections, portable metrology has proven to provide additional value. Not only does it speed up the inspection process, but the use of portable metrology allows for the measurement to come to the part as opposed to bringing the part to the measurement device. The next step you might consider would be to automate your inspection process by integrating your portable CMM with an automation tool, for example, a robot or software scripting. As we all know, robotics and automation have taken the inspection world by storm. Robots are increasingly utilized in everyday applications from food production to medical procedures. Using robotic technology to provide semi-automated and fully automated metrology offers the potential to achieve the needed accuracy and consistency in manufacturing operations to improve quality, throughput, and productivity that results in the return on investment companies are seeking.
Selecting the Correct Form of Metrology Automation
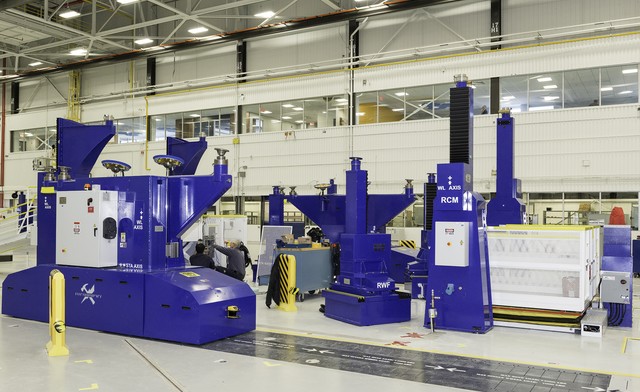
The term “automation” can have different meanings depending on what you are trying to accomplish. A programmable stationary CMM is a form of automation because you have to program the software to take measurements of the part. In one shop, automation could be something as simple as creating an inspection script to automatically analyze the data measured on a part to provide rapid feedback on the degree of variation of the part from design. Others consider the use of robots with mounted mobile measuring equipment to automate metrology in a work cell to assemble aircraft or automotive components.
Although manufacturers embrace the concept of automation, they may have concerns that if done incorrectly, the automation system may not meet the necessary positional precision required or that the installed metrology technology may be insufficient to achieve the demanding tolerances of the assembly process – a situation that would certainly overwhelm the manufacturer. This is where choosing the right automation partner can make the difference between a failed and costly attempt at automation and a highly successful and cost-effective integration that meets or exceeds your expectations.
Choosing a Metrology Automation Supplier You Can Trust
ECM is uniquely qualified to evaluate and provide a thorough process evaluation – from integrating your existing measurement systems into an automated application to the installation of the automated solution. We will provide the tools, equipment and programming to support the entire workflow of the automated process. Regardless of your metrology automation expectations, the sky is the limit when it comes to choosing the right form of automation for the job you want to accomplish.
ECM – Global Measurement Solutions’ specialty is finding the best metrology solution and developing an integration plan to facilitate the conversion of a particular assembly task into an automated and highly accurate process. That is why we seek out highly experienced and industry-recognized leaders in the fabrication of automation hardware and tooling systems to partner with ECM. This ensures that we leverage the extensive resources and capabilities of our partners to improve the level of technical excellence and speed of development necessary to meet the critical timelines and demands of our customers. This approach has demonstrated time and again that the final automated metrology solution we would design for you is far superior to that of a company that attempts to be a jack of all trades but lacks the necessary expertise in areas critical to a successful automation design and integration. ECM’s experienced team will partner with you from start to finish, providing a customized automated solution based on your metrology needs, resulting in an optimized measurement process.
References
Branch, R. (date unavailable). Whitepaper. V&M Precision Machining and Grinding. What Your Shop Needs to Know About Portable CMMs. Master 3D Gage. Retrieved from https://www.optipro.com/pdf/mg_whitepaper_r.pdf.
Hexagon Manufacturing Intelligence. (2016). Article. Metrology Meets Automation. Automotive Manufacturing Solutions. Retrieved from https://automotivemanufacturingsolutions.com/a_sponsored/metrologymeetsautomation.
Knicker, M. (2013). Article. QPlus Labs. 10 Types of Dimensional Inspection Hand Tools and When to Use Them. Retrieved from http://info.qpluslabs.com/blog/bid/284983/10-Types-of-Dimensional-Inspection-Hand-Tools-and-When-to-Use-Them.
