The Value of Virtual Gauging in Today’s Manufacturing Environment
Article by Steve Vosmik, ECM Global
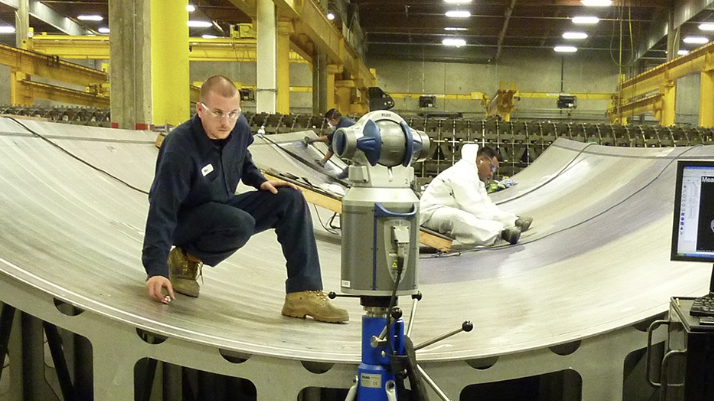
As laser scanning becomes more readily accepted by the manufacturing community as a viable inspection and validation method, many new applications have begun to surface. Although interest from industry has been there for some time, it is the accuracy and speed of some of these scanning methods that has pushed this technology to the forefront of the metrology industry. One industry that has embraced this technology over the past several years is the shipbuilding community and, more specifically, the propeller manufacturing companies.
Current State
As many likely know, ship propellers can be very complex with a massive amount of data points to take into consideration when manufacturing them for the first time, or during a refurbishment procedure. To accurately measure and validate a propeller, one needs to take into account large scale parameters like blade pitch, rake, and skew, as well as blade profile, fillet, edge and tip geometry at specified locations. The accepted procedure of measuring and validating propeller geometry today is a very manual one and can include costly, physical gauging. This gauging is often a contour plate that fits over the prop blades at designated cross-section areas where feeler-gauges are then employed to determine if the part is within tolerance. This has been the inspection process for decades, and although effective, it is very costly and time consuming.
The idea of scanning a propeller and comparing that scan data back to a CAD model is not a new one. This approach has been considered for over two decades. However, while this approach easily yielded information about the deviation of the propeller from the ideal shape, it was not very good at extracting the large-scale parameters like pitch, rake, etc. and experts were required to calculate those results. Today technology has matured. There are a large number of high accuracy scanners on the market that are better than their predecessors at handling a diverse range of material colors and finishes. Higher accuracy scanners are only part of the equation. What do you do with the millions of points you collect with the scanner? How do you manage that huge amount of data and use it in a meaningful way? How do you extract those large-scale parameters from a point cloud? Software has a more prominent role than ever before in making a scanning solution viable. This was the challenge presented to ECM Global by our customer and this is how we approached a solution.
Solution
As with most things, one needs to first understand what the objective is, and then design a solution around that goal. The customer already had high accuracy scanning equipment on hand and state of the art metrology software. They clearly described how they wanted a measurement solution to virtually replicate the results that they would get from physical gauges. This allowed us to map out a process that would arrive at the desired solution using customizable command sequences available in modern metrology software. Writing the custom sequences is very similar to constructing a macro or writing custom code and allows the automation of data collection bringing more speed and uniformity to the data collection process. So, by employing state of the art scanning equipment and customizable software, ECM Global began the process of putting together a scanning solution to help modernize the propeller industry, as well as bring some much-needed consistency and cost savings to the current process.
The process starts by defining the “virtual gauges” in CAD. These virtual gauges describe the ideal [design] shape and are constructed to emulate their real-world counterparts. The gauges are imported into the metrology software. The propeller is scanned. The resulting point clouds are checked to insure they have sufficient coverage; that there are no holes in the data. Portions of the point cloud, which we will call gauge scans, corresponding to the virtual gauges are isolated. These gage scans are compared to the virtual gauges, and adjustments are made in ways that imitate how real gauges are adjusted. New gauge scans are isolated and new adjustments are made in an iterative manner until a stable result is achieved. The gauge scan can then be compared to the virtual gauge to check profile. The record of the manipulations permits the large-scale parameters to be calculated. Results are then reported in a customer defined format allowing for changes to the prop design, if needed.
As mentioned earlier, there are propeller scanning software solutions on the market today, but none that we are aware of providing the flexibility, consistency and automation associated with what we’ve developed. This is truly employing high tech equipment and software to arrive at a more repeatable, accurate and cost-effective solution for our customers. This approach to using virtually gauges to help replace older, physical gauging solutions is not unique to the shipbuilding business. These methods can be employed across multiple industries from aerospace to power generation. ECM Global would welcome the opportunity talk through what we’ve done and see if a solution like this might be viable for your business.
