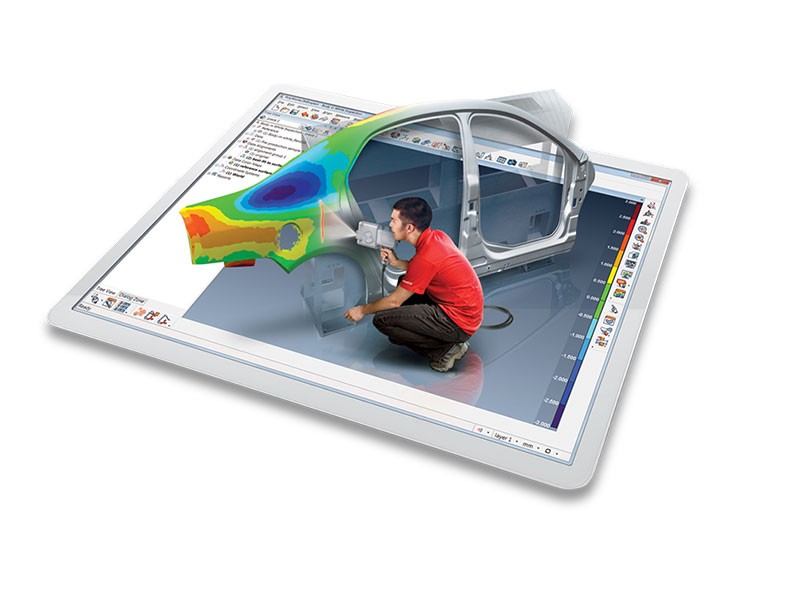
PolyWorks|Inspector offers a broad range of part alignment techniques that let users construct alignments with:
Surfaces or cross-sections (measured-to-nominal best-fit, constrainable in rotation/translation, and within tolerance zone)
Features (3-2-1, pairs of center points, and GD&T datum reference frames)
Reference points and lines (RPS, surface points, and six-point nest)
Virtual gauges (caliper, flush & gap, and airfoil)
PolyWorks|Inspector delivers the complete toolbox you need to extract and analyze:
Surface, boundary, and cross-sectional measured-to-nominal deviations
Feature dimensions and GD&T controls (ASME Y14.5-2009 and ISO 1101, as well as PTB certified 64-bit/32-bit)
Advanced dimensions such as flush and gap, profile radius, airfoil dimensions (leading edge, trailing edge, and global), assembly clearance, thickness, and more
PolyWorks|Inspector provides an outstanding reporting technology that guarantees the exactness of a report and dramatically accelerates multi-piece inspection.


